How to Install Anchor Bolts Without Creating a Future Problem
Understanding how to install anchor bolts matters because this is one of those jobs that looks simple until the base plate does not sit flat, the grout line opens up, or the equipment starts to shift under load. For engineers, sourcing managers, and installation teams, the real decision is not just where the bolts go. It is whether the anchoring method matches the structure, the load path, and the way the job will actually be built in the field.
Anchor bolts hold down steel columns, machinery frames, signage, racks, and a long list of other assemblies that depend on a stable connection to concrete or masonry. If the bolt pattern is wrong, the embedment is off, or the setting process is rushed, the entire foundation detail can become a maintenance issue. That is why a good installation plan starts before any drilling or casting begins.
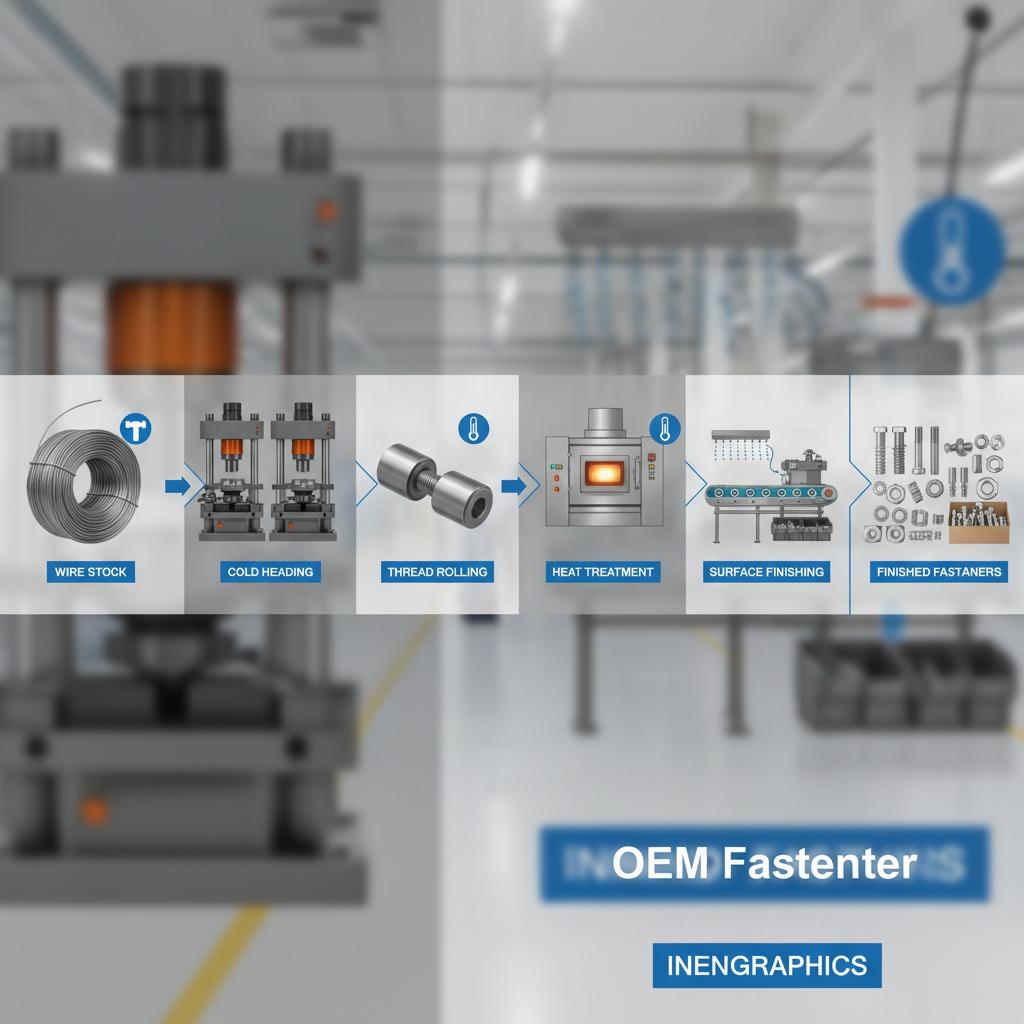
Start with the anchor type, not the wrench
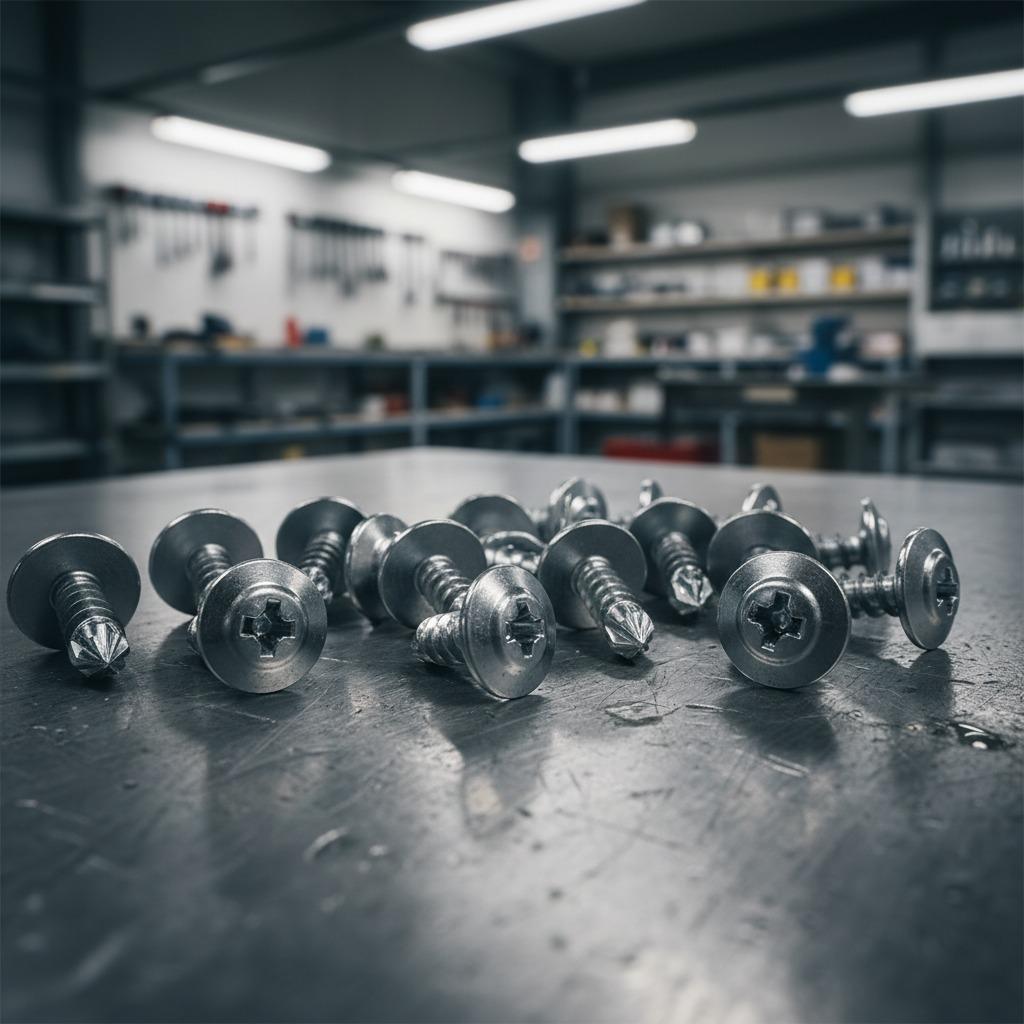
There is no single method for installing anchor bolts. Cast-in-place anchor bolts behave differently from post-installed anchors, and expansion anchors are not the same as adhesive systems. The right choice depends on the base material, required load capacity, edge distance, and whether the bolt must be placed before or after the concrete is poured.
In practical terms, that means the installer needs drawings, bolt spacing, embedment depth, and the base plate detail before work starts. If those details are vague, the job usually gets corrected in the field, which is rarely the cheapest place to solve a foundation problem.
Basic installation sequence
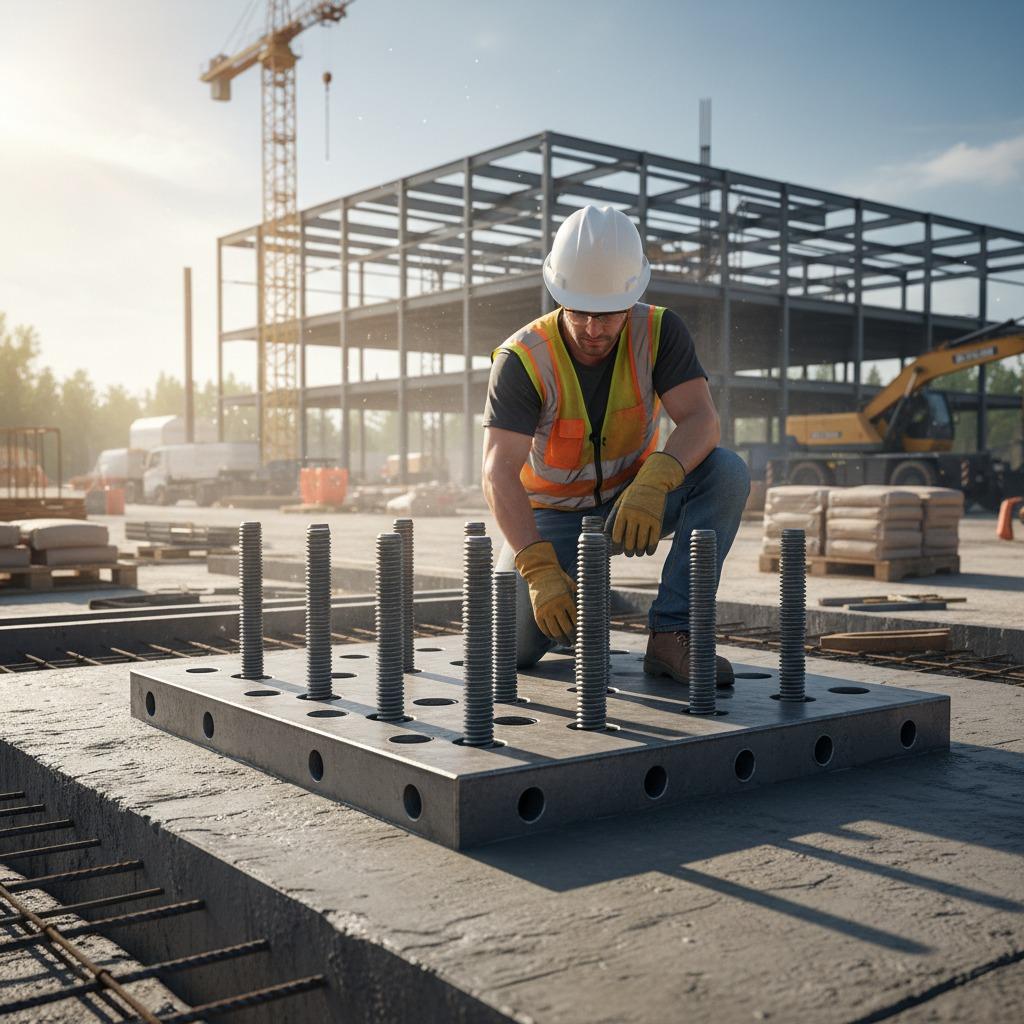
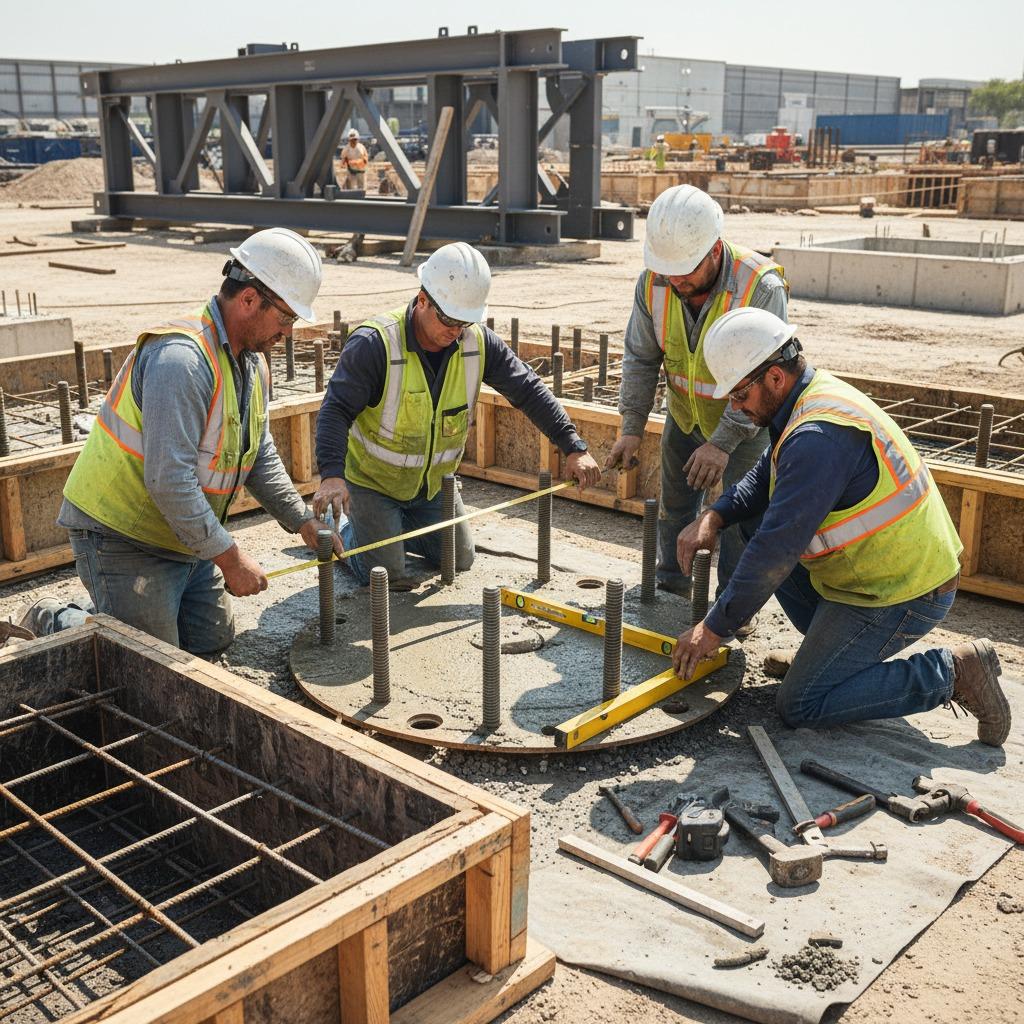
For cast-in-place work, the process usually begins with layout. The anchor rod pattern must match the steel base plate or machine skid, and the setting template should keep the bolts aligned during the pour. Once the forms are ready, the bolts are positioned, checked for plumb, and secured so they do not move when concrete is placed. After the pour, the exposed threads are protected until the base plate installation.
For post-installed anchors, the sequence is different. The installer marks the locations, drills the holes to the specified diameter and depth, clears dust from the hole, and then installs the anchor according to the selected system. That last part matters more than people think. A hole that is not properly cleaned can reduce performance, especially for adhesive anchors.
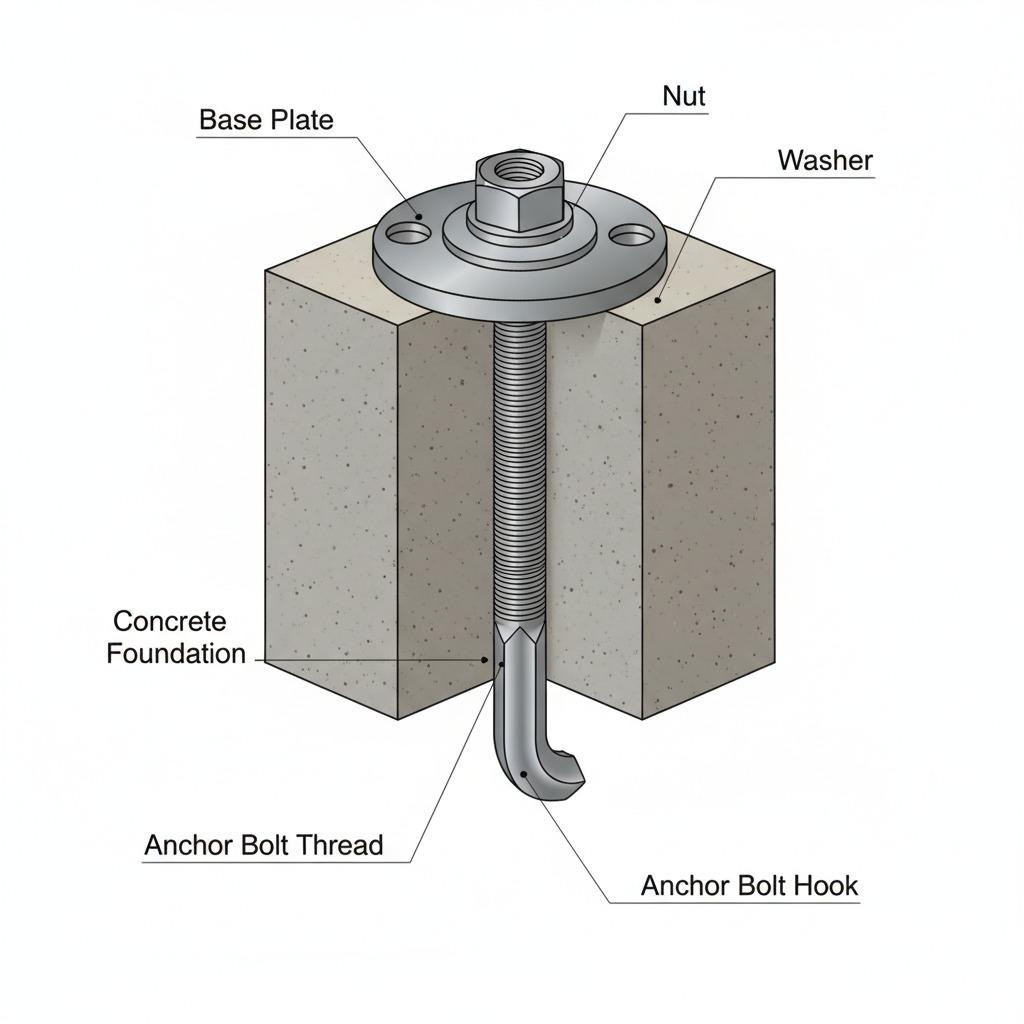
After the anchor is in place, the base plate is set, washers and nuts are installed, and the assembly is tightened to the required condition. In many jobs, final tensioning is only one step in a longer sequence that includes leveling, non-shrink grout, and rechecking after the grout has cured.
What usually goes wrong
Most anchor bolt problems are not dramatic. They are small errors that compound. Holes are drilled a little too close to the edge. Templates are removed too early. Thread projection is too short for the nut, washer, and plate stack-up. Or the installation crew assumes “close enough” will work for a steel frame that actually needs precise alignment.
Another common issue is treating all concrete the same. Older concrete, cracked concrete, or concrete with unknown reinforcement can change the anchor selection and the installation approach. That is one reason buyers and project managers should be cautious about accepting a generic anchoring solution for every site.
Quick buyer and installer checklist
Before installation
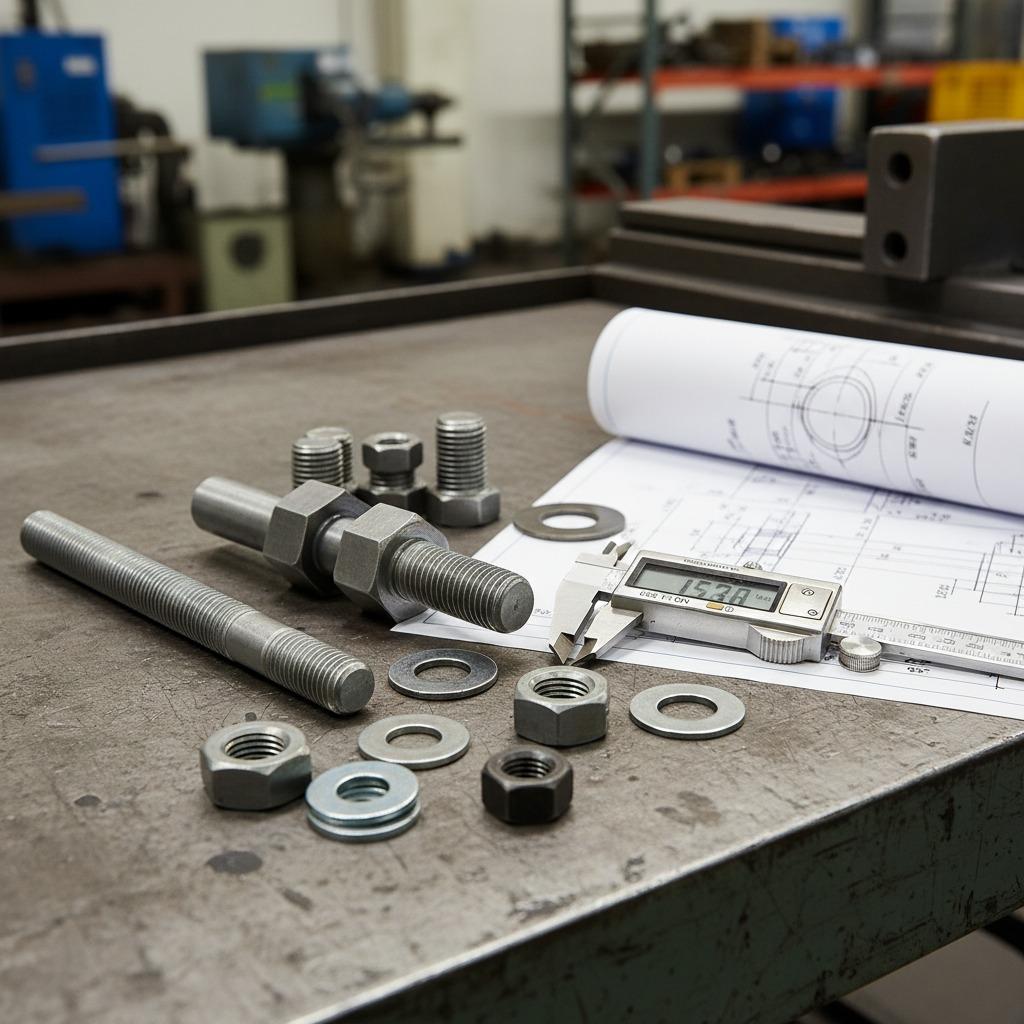
Confirm the anchor type, load requirement, base plate geometry, concrete condition, and edge distances. Check whether the project calls for cast-in-place or post-installed anchors, and make sure the drawings match the hardware on hand. A surprising number of field delays start with a mismatch between the spec sheet and the delivered parts.
During installation
Keep the layout accurate, control drilling depth, clean drilled holes properly, and verify bolt alignment before any load is applied. If a template is used, protect it from movement during the pour. If adhesive anchors are involved, follow the curing sequence rather than rushing to fit-out.
After installation
Inspect thread engagement, washer seating, nut tightening, and plate contact. If grout is part of the assembly, recheck the setup after curing. A bolt that looked fine during rough-in can behave differently once the full load path is active.
Selection criteria that deserve more attention than they usually get
People often focus on bolt diameter first, but the smarter questions are about the structure and the load. Is the connection resisting tension, shear, or both? Is the concrete thick enough for the required embedment? Will vibration be part of the service condition? Is corrosion protection needed for the environment? Those questions shape the installation method as much as the hardware itself.
For machinery foundations and structural supports, it is also worth checking whether small installation tolerances are acceptable. Some applications can absorb minor adjustment. Others cannot. If the base plate holes are tight and the anchor pattern is fixed, the installer has very little room for improvisation.
A practical final note for teams buying or specifying anchors
The best anchor bolt installation is usually the one that was planned correctly before the work reached the site. That sounds obvious, but it is where many projects slip. Clear drawings, the right anchor system, and a crew that understands the sequence will do more for performance than a last-minute hardware upgrade.
If you are selecting hardware for a project, review the structure, the concrete condition, and the installation method together. That is the quickest way to avoid rework, and it is the difference between a connection that merely holds and one that stays dependable over time.
FAQ
Can anchor bolts be installed after concrete cures?
Yes, depending on the application and the anchor system. Post-installed anchors are common, but they must be selected for the base material and installed according to the specified procedure.
Do anchor bolts need grout under the base plate?
Not always, but many structural base plate installations use grout to support load transfer and level the assembly. The design detail should drive that decision.
What is the most common installation mistake?
Probably poor layout and hole preparation. Alignment, cleaning, and correct embedment are easy to overlook, but they are often what separates a reliable installation from a problematic one.