Introduction to Fixing and Fixing
Having a reliable fixing solution is crucial when securing a fixture to a solid masonry material such as concrete, bricks or blocks. Among the various anchor options available, the strength, versatility and ease of use of the red-head sleeve anchor anchor. These anchors are a popular choice for professional contractors and DIY enthusiasts who need a reliable method of heavy-duty application. Understanding how they work and the proper application can have a significant impact on the safety and lifespan of any installation.
Understand the Red-Headed Sleeve Anchor
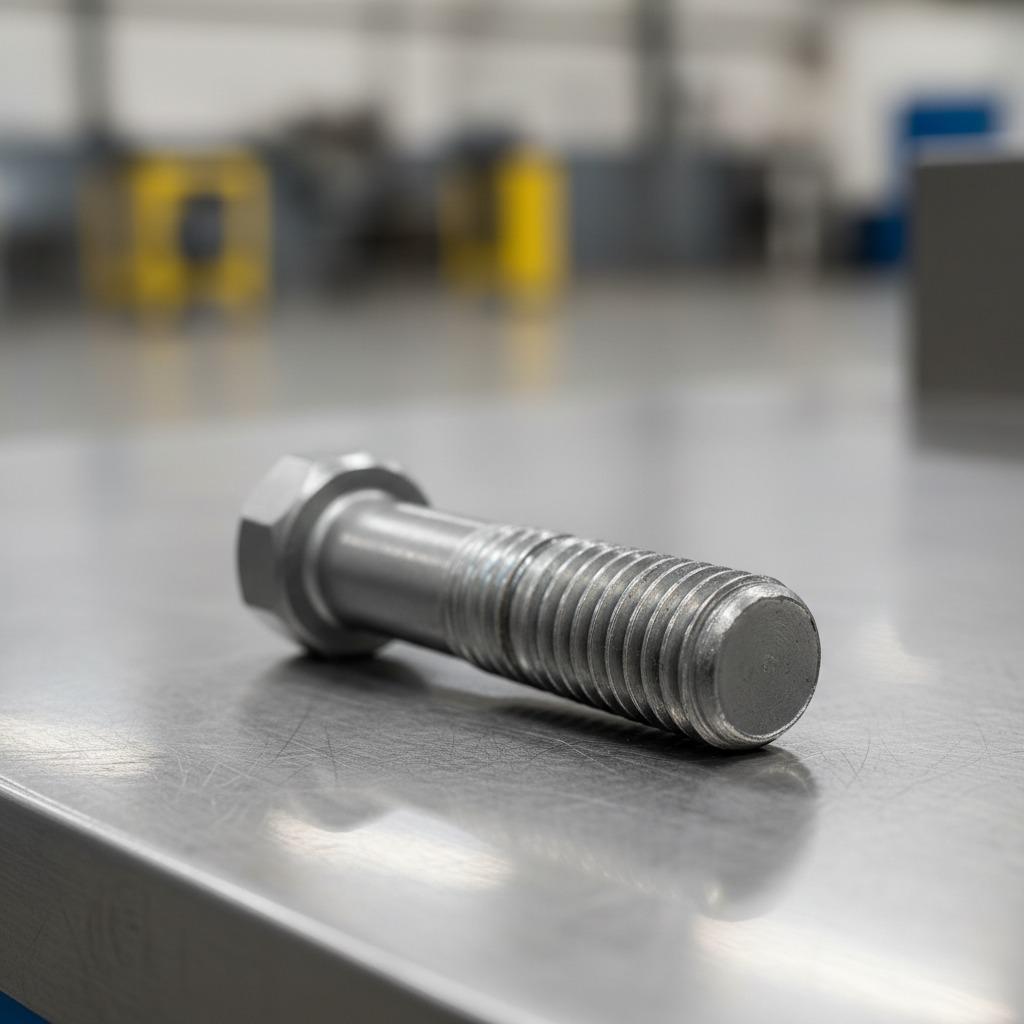
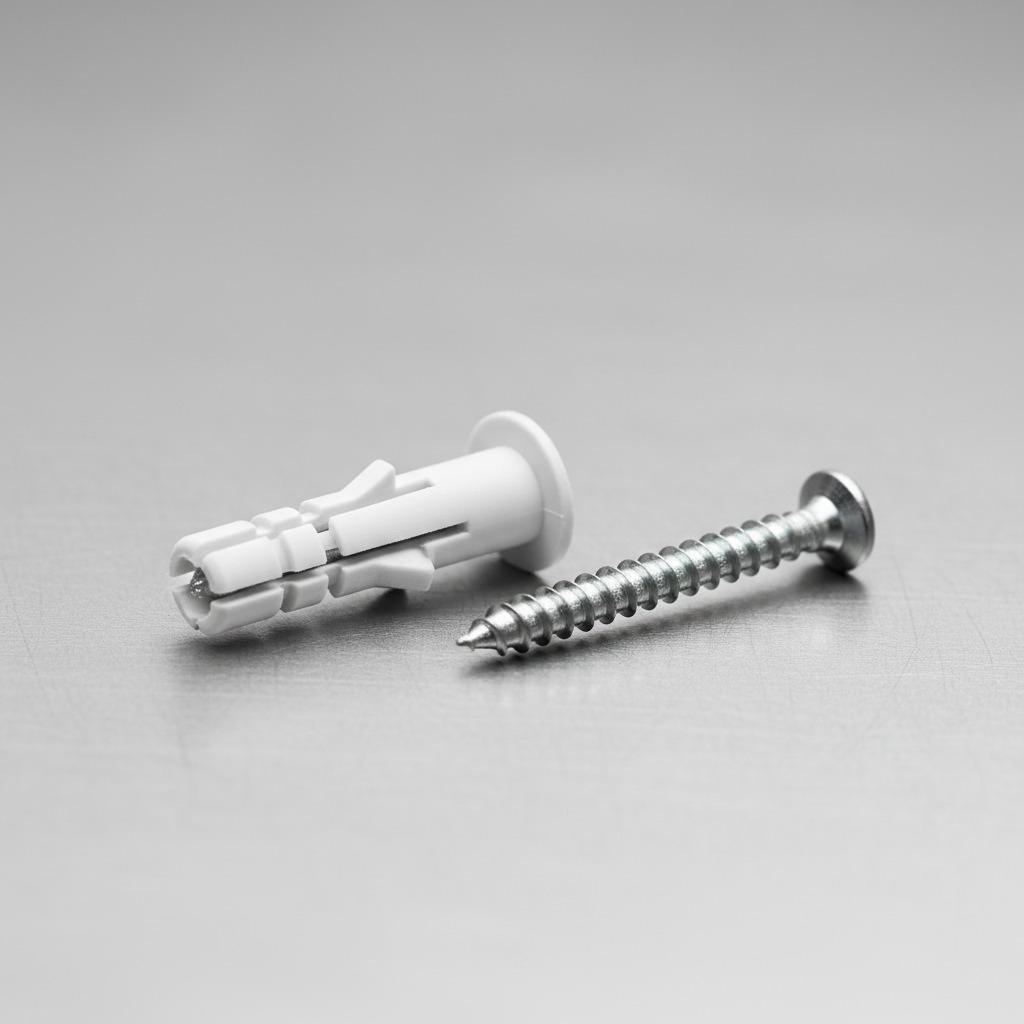
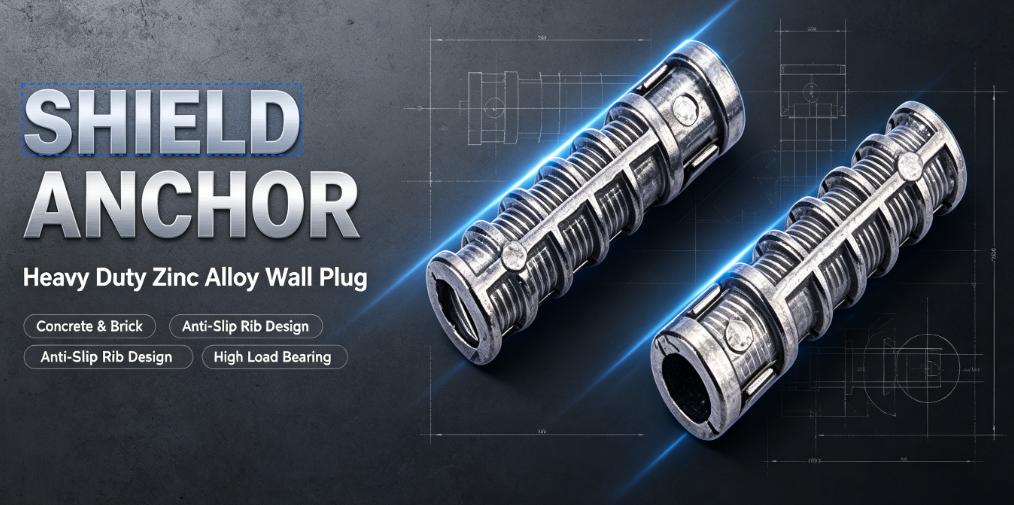
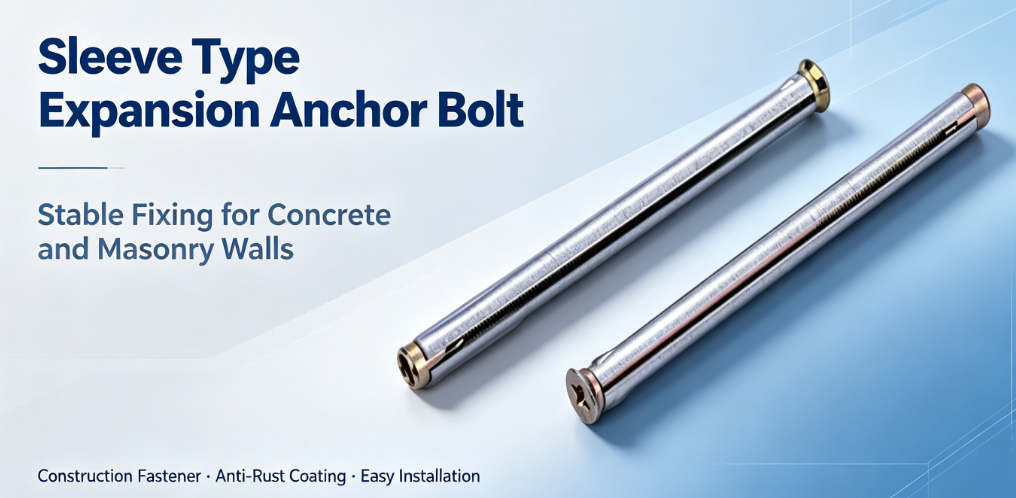
So, what exactly are these anchors? The red-head sleeve anchor is a pre-assembled expansion anchor designed for fixing tasks in medium to heavy duty fixing materials. They usually consist of several key components: threaded bolts or bolts, expansion sleeves that wrap studs, nuts and washers. The sleeve is designed to expand against a wall pre-drilled in the base material when tightening the bolt or nut. This extension creates a strong friction grip that securely holds the anchor and the attached fixture. "Red head" usually refers to a specific brand or publicly recognizable feature, although the term is already somewhat versatile for the style of this anchor.
Safe and fixed mechanism
The genius behind the sleeve anchors lies in their simple and effective expansion mechanism. Once the anchor is inserted into the correct drilling hole, tighten the head of the nut or bolt, plug the tapered tapered dilator into the bottom of the stud to pull it into the sleeve. As the cone moves upwards, it forces the various parts of the sleeve to explode outwards, pressing firmly against the surrounding concrete, bricks. This radial pressure creates a strong and safe anchor point that can handle significant stretching (pull out) and shear (left and right) loads. Maintaining power is directly related to the quality of the basic material and the correct installation process.
Multifunctional applications across industries
The versatility of sleeve anchors makes it suitable for a variety of applications. In architectural and industrial environments, they are often used to protect structural elements, machinery, support brackets and conduits. For commercial and residential projects, typical uses include connecting handrails, shelving units, signage, satellite dishes, awnings and large appliances. Their strong holding capabilities in a variety of masonry materials make them an essential tool for any task that requires a firm connection to a strong non-brittle foundation. When choosing a red-headed sleeve anchor for a specific project, it is crucial to consider the load requirements and properties of the basic material.
Key Advantages of Sleeve Anchor
There are several different advantages to using a sleeve anchor. First, their high load capacity makes them suitable for demanding applications where safety and stability are critical. Second, they are usually easy to install using standard tools, requiring only a correct size drill bit and wrench to tighten. Third, they are versatile because they can be used in a variety of solid materials. Unlike some other anchor types, sleeve anchors can usually be relatively close to the edge, although manufacturer specifications should always be consulted. In addition, many sleeve anchors are available in different materials and finishes, such as zinc-galvanized steel for indoor use or for stainless steel that requires corrosion resistance, such as outdoors or wet environments.
Step-by-step installation guide
Proper installation is key to achieving maximum retention capability of any sleeve anchor. Here is a general guide:
1. Drilling holes: Use a hammer drill and a carbide drill bit that matches the anchor diameter to drill a hole into the base material to a specified depth. Make sure the hole is perpendicular to the surface.
2. Cleaning holes: Use a wire brush, compressed air or vacuum to thoroughly clean the drill holes of all dust and debris. This step is critical for optimal performance, as fragmentation can interfere with the expansion of the anchor and reduce its retention capability.
3. Insert anchor: The item to be fixed to the hole. Tap the anchor with the nut and washing machine, through the fixture and thread slightly until the washer is close to the fixture.
4. Tighten the anchor: Use a wrench to tighten the nut or bolt head. This will allow the cone to move the cone into the sleeve, allowing it to expand and grasp the basic material. Do not over-tighten as this can damage the anchor or basic material. If available, tighten the manufacturer's recommended torque specifications.
Choose the right sleeve anchor
Choosing the right red-head sleeve anchor for your specific needs is essential for a successful and safe installation. Several factors must be considered. First, determine the load requirement: how much weight will the anchor need to support and will it bear static or dynamic loads? Secondly, determine the basic material: is it concrete, brick or block, and what is its compressive strength? Third, consider the thickness of the connected fixing device and the required fixing depth. The anchor diameter and length play a crucial role here. Larger diameter anchors generally provide greater retention power. Always refer to the manufacturer's guide and loading tables to ensure you choose an anchor that meets or exceeds your application's needs.
Important safety considerations
Safety should always be a priority when using any type of fasteners, including sleeve anchors. Always wear proper personal protective equipment (PPE), such as safety glasses and gloves, especially when drilling into masonry. Make sure you use the correct drill size; a hole that is too small will prevent proper insertion, while a hole that is too large will damage the anchor's retention. Avoid excessive contact with the anchor as this may cause damage or rupture of the anchoring of the basic material. If you are unsure of any aspect of the installation or selection process, it is best to consult a professional or refer to a detailed manufacturer's instructions. It is also recommended to regularly check the installation anchors in critical applications to ensure long-term integrity.
Reliable fixed work
In short, the red-headed sleeve anchor provides a powerful and reliable solution to many of the fixing challenges in solid masonry. Their direct installation process, coupled with impressive retention intensity, makes them an invaluable component of professional structures and everyday DIY projects. By understanding their mechanics, applications and proper installation techniques, users can confidently use these anchors to create safe and durable connections. When properly selected and installed, these fasteners will ensure that your fixtures remain firm for the next few years.