Understanding Damaged Nut Threads
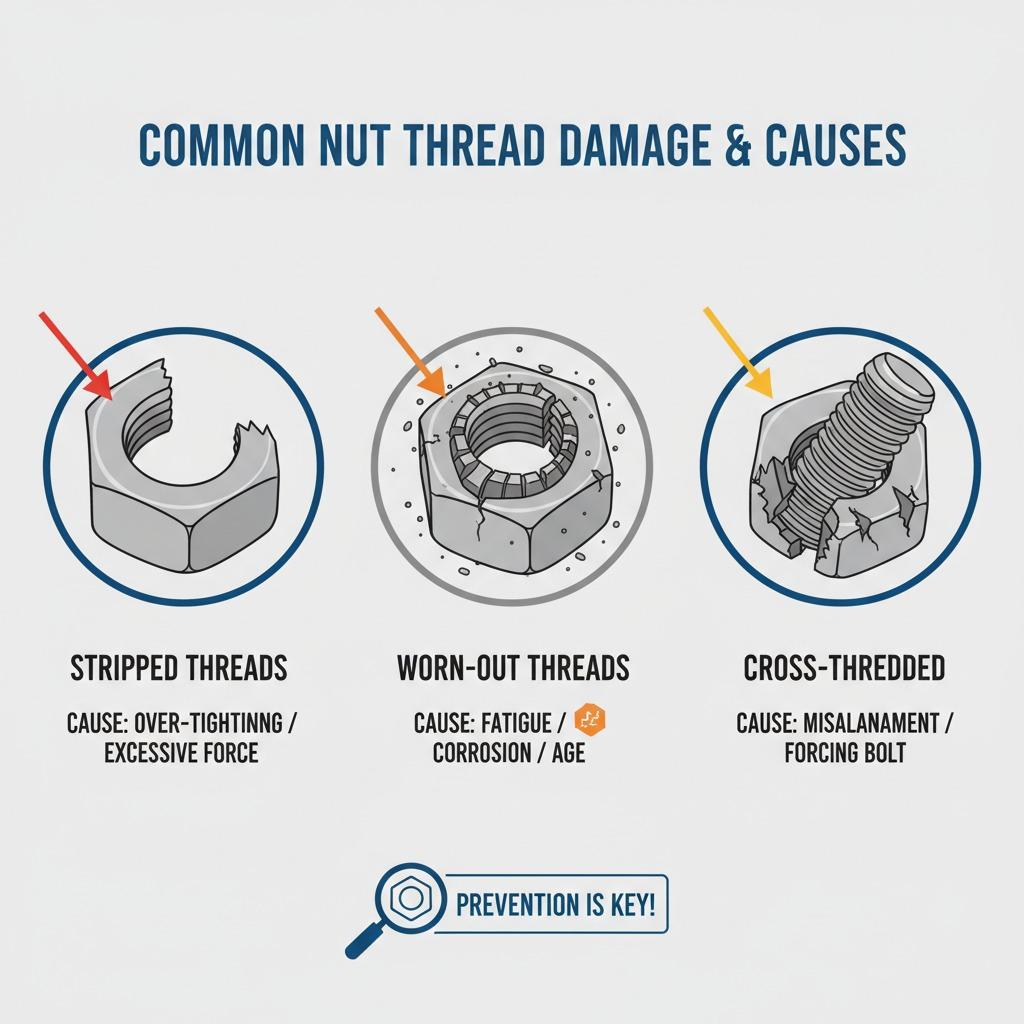
When dealing with mechanical repairs, one common issue is figuring out how to fix a damaged nut thread. This problem often arises from over-tightening, cross-threading, or exposure to corrosive environments, leading to stripped or worn-out threads that prevent proper fastening. Addressing how to fix a damaged nut thread promptly can save time and money, avoiding the need for complete replacements. In this guide, we'll explore practical methods to restore functionality, ensuring secure connections in automotive, plumbing, or DIY projects.
Assessing the Damage
Before attempting any repairs on how to fix a damaged nut thread, evaluate the extent of the damage. Minor stripping might only affect a few threads, while severe wear could render the nut unusable. Use a thread gauge or try fitting a bolt of the same size to check compatibility. Cleaning the nut with a wire brush removes debris, providing a clearer view. If the damage is superficial, simple techniques may suffice; otherwise, more advanced tools could be necessary. Always wear safety gear like gloves and eye protection during inspection to prevent injury from sharp edges.
Basic Methods to Fix Minor Damage
For lightly damaged nuts, start with the easiest approach on how to fix a damaged nut thread: chasing the threads with a tap and die set. Select a die that matches your nut's thread size—common sizes include 1/4-inch or M6 metric—and gently run it through the nut while applying cutting oil to reduce friction. Rotate clockwise in short bursts, backing off periodically to clear metal shavings. This process recuts the grooves, restoring grip without much material loss. If the nut is steel, this method is particularly effective, often reviving it for reuse. Test the repaired thread by screwing in a bolt; it should engage smoothly without binding.
Advanced Techniques for Severe Damage
If basic chasing doesn't work for how to fix a damaged nut thread, consider re-tapping to a larger size. This involves drilling out the old threads and creating new ones with an oversized tap, such as going from 10mm to 12mm. Use a drill bit slightly smaller than the tap diameter to avoid weakening the nut. For aluminum or softer metals, apply steady pressure to prevent cracking. Another option is using a thread repair insert, like a Helicoil kit, which installs a stainless steel insert for durable reinforcement. These kits include tools for precise installation and are ideal for high-stress applications, ensuring long-term reliability.
Preventive Measures and When to Replace
To avoid future issues with how to fix a damaged nut thread, use anti-seize compounds during assembly and torque wrenches for accurate tightening. Regularly inspect fasteners in high-vibration areas, like engines or machinery. If the nut is part of a critical component and repairs compromise its strength, replacement is the safest choice—opt for high-quality nuts from reputable suppliers. By mastering these techniques, you'll handle repairs efficiently, extending the life of your hardware and minimizing downtime in your projects.
In summary, knowing how to fix a damaged nut thread empowers you to tackle repairs confidently, from simple chasing to insert installations. With the right tools and patience, most damaged nuts can be salvaged effectively.