How to Measure a Hose Clamp Size
Determining
How to Measure a Hose Clamp Size
accurately is essential for ensuring a secure fit in automotive, plumbing, or industrial applications. Hose clamps, also known as hose clips or jubilee clamps, come in various sizes to accommodate different hose diameters. Misjudging the size can lead to leaks, slippage, or damage to the hose material. This guide will walk you through the steps to measure correctly, helping you select the right clamp for your needs without guesswork.
Understanding Hose Clamp Basics
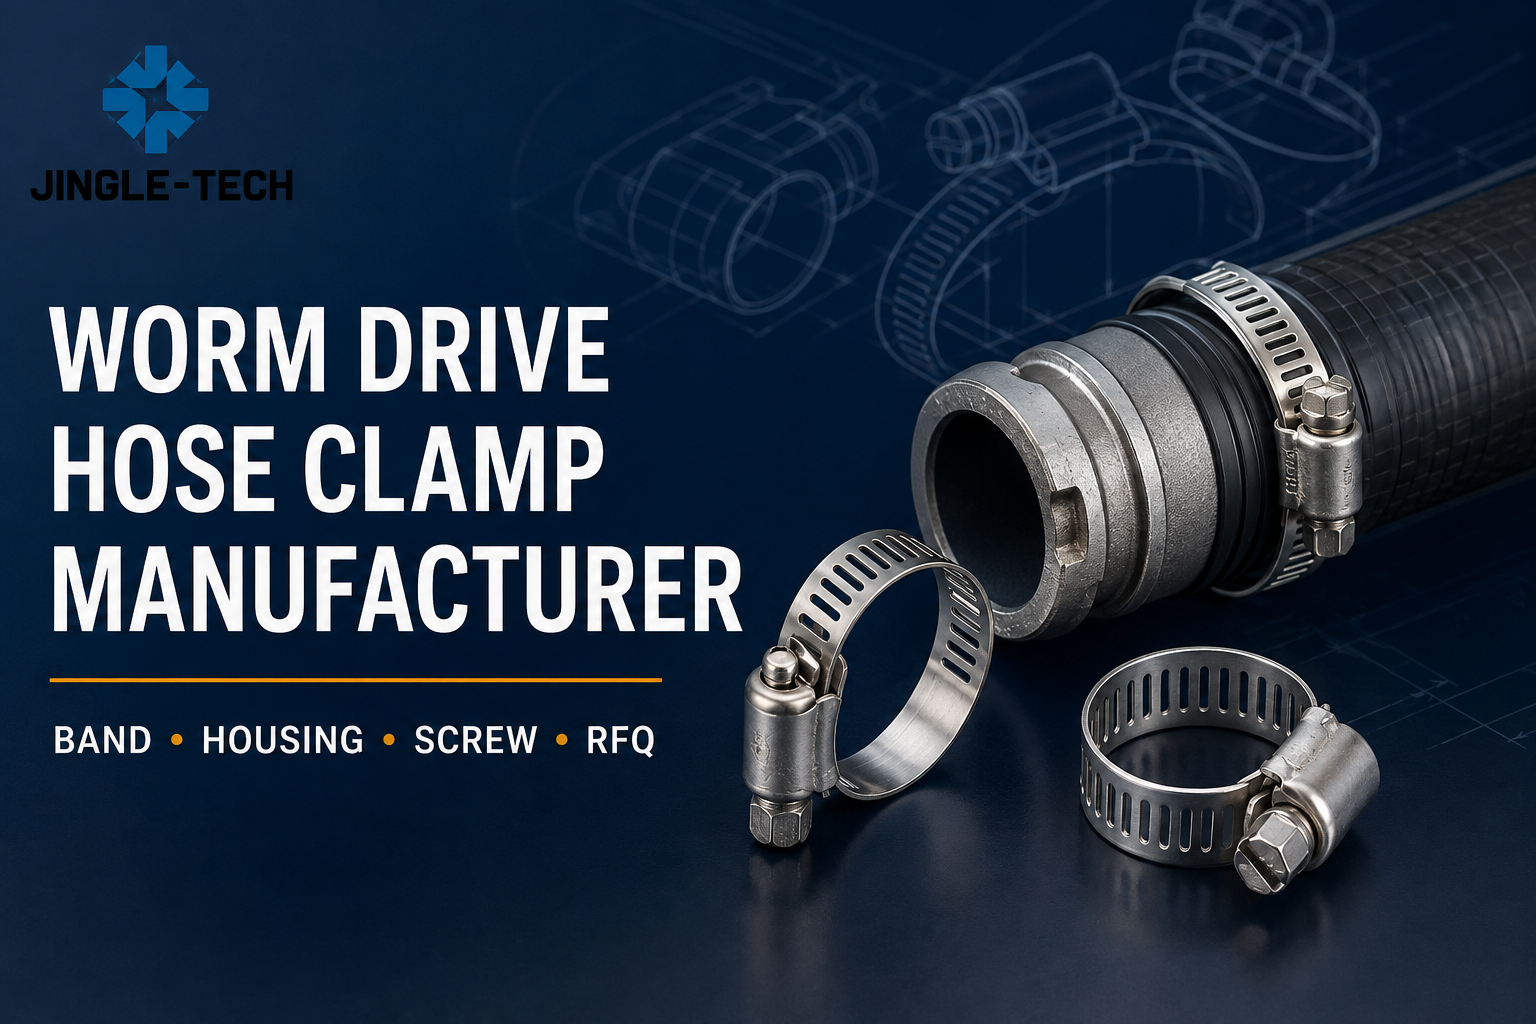
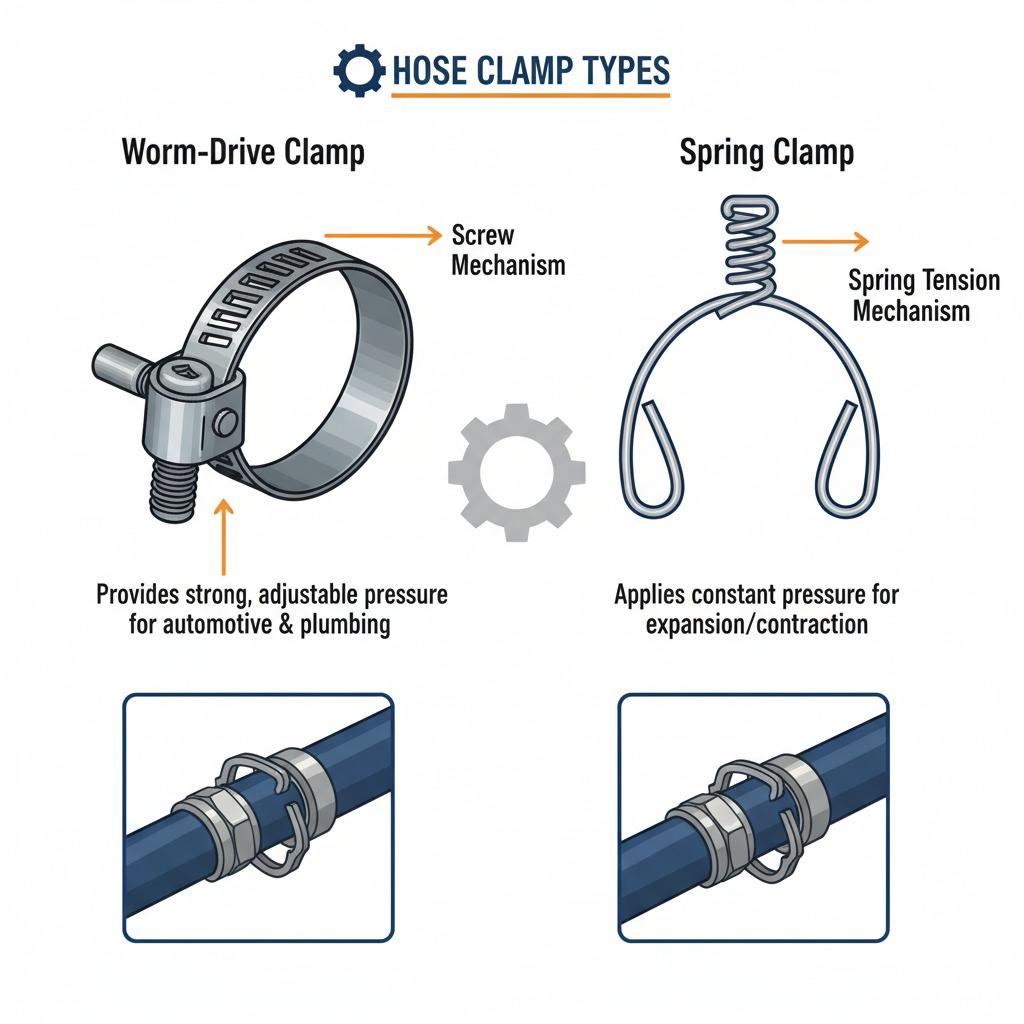
Before diving into measurements, it's important to know the types of hose clamps available. The most common are worm-drive clamps, which use a screw mechanism to tighten, and spring clamps, which rely on built-in tension. Sizes are typically specified by the range of hose diameters they can secure, often listed in inches or millimeters, such as 1/4" to 5/8" or 6mm to 16mm. Always check the manufacturer's specifications, as slight variations exist between brands. For precision, use tools like a caliper or tape measure to avoid inaccuracies from visual estimation.
Step-by-Step Guide to Measuring
To measure a hose clamp size effectively, start by identifying the hose's outer diameter where the clamp will be placed. Use a flexible tape measure or digital caliper to wrap around the hose at the installation point, ensuring it's perpendicular to the hose's length. Record the measurement in the smallest unit possible for accuracy—fractions of an inch or millimeters work best. Next, consider the clamp's band width and material thickness, but the primary focus is the diameter range. For example, if your hose measures 1 inch in diameter, choose a clamp rated for 1" to 1-1/4" to allow for adjustment and expansion. If replacing an existing clamp, measure the old one's band length if intact, or note the screw size as a reference. Test fit the new clamp loosely around the hose before final tightening to confirm compatibility.
Tools and Tips for Accurate Measurement
Gather the right tools to make the process straightforward: a vernier caliper for precise readings up to 0.01mm, a cloth measuring tape for larger hoses, and a notepad for jotting down figures. Avoid stretching the hose during measurement, as this can skew results—measure in its natural, uncompressed state. For irregular or corrugated hoses, take multiple measurements around the circumference and use the average. If working with high-pressure applications, opt for clamps with a safety factor, meaning they can handle diameters slightly larger than measured to prevent over-tightening. Common pitfalls include ignoring hose material stretch (rubber expands more than silicone) or environmental factors like temperature, which can alter sizes. Always double-check measurements against the clamp's spec sheet to ensure a secure, leak-free seal.
Common Mistakes to Avoid
One frequent error is confusing inner versus outer diameter—always measure the exterior of the hose, as clamps grip from the outside. Another is selecting based on nominal hose size printed on the packaging, which may not match the actual installed diameter after fittings. If you're dealing with vintage equipment, older clamps might use imperial sizes while modern ones are metric, so convert units carefully (1 inch = 25.4mm). For multi-layer hoses, account for the total thickness. By following these guidelines, you'll minimize errors and achieve a reliable installation every time.
Selecting the Right Clamp After Measurement
Once you've measured, cross-reference with supplier catalogs or online tools that list clamp sizes by range. Consider the application's demands: stainless steel for corrosive environments, carbon steel for general use. Budget-friendly options abound, but prioritize quality to avoid failures. If unsure, consult a professional or use sizing charts from reputable sources. Proper measurement ensures longevity and safety, preventing costly repairs down the line. With practice, measuring hose clamp sizes becomes second nature, empowering you to tackle any project confidently.